6 Activities to Help with Quarantine-Induced Cabin Fever

With many of us working from home, feelings of cabin fever may be beginning to set in. Hopefully some of these activities will help make your work day, or weekend, feel a little more bearable as we stay home and practice social distancing. To those considered essential personnel and don’t have the option to stay home (healthcare workers, air traffic controllers, pilots, and everyone else), THANK YOU!!!

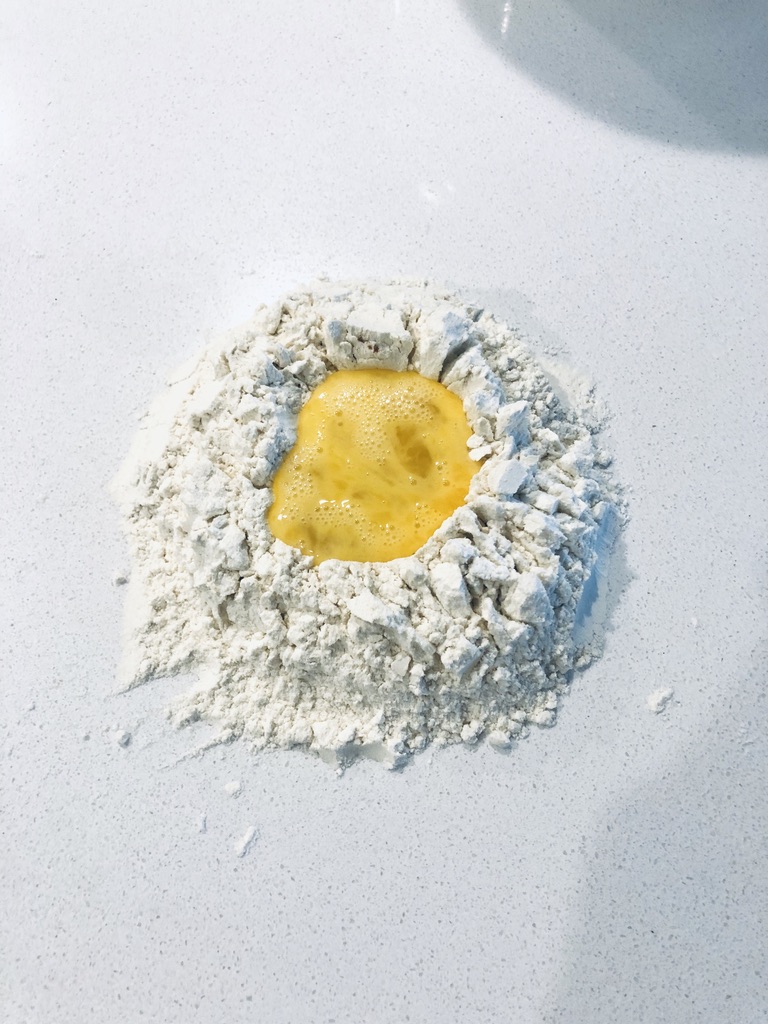
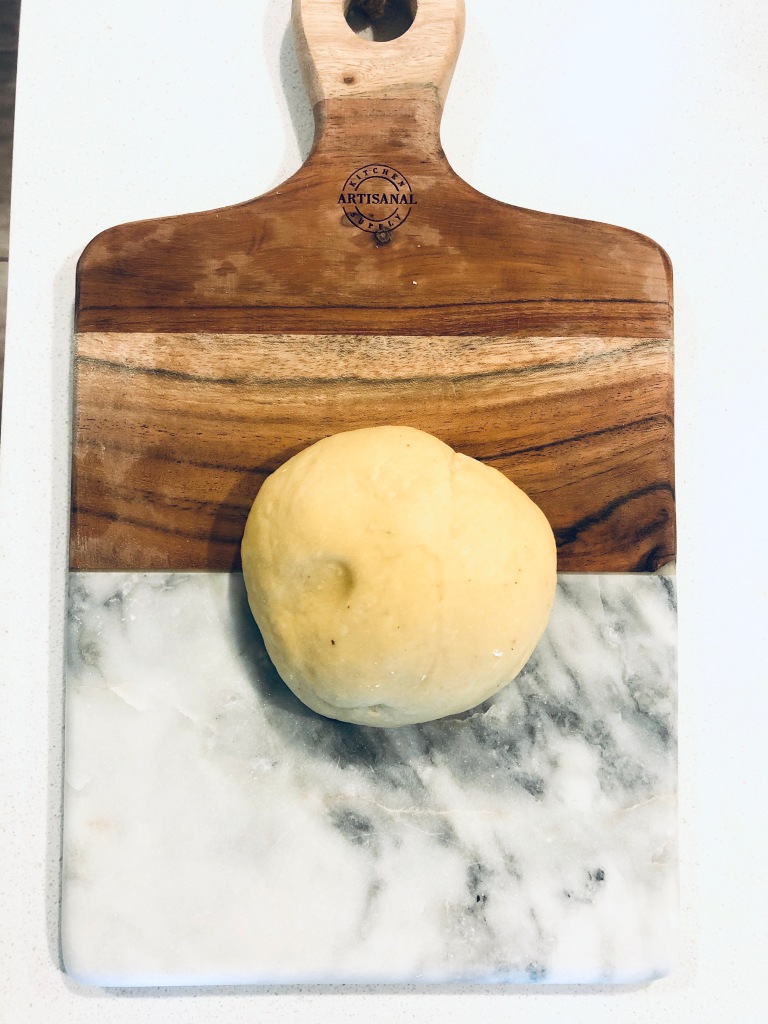
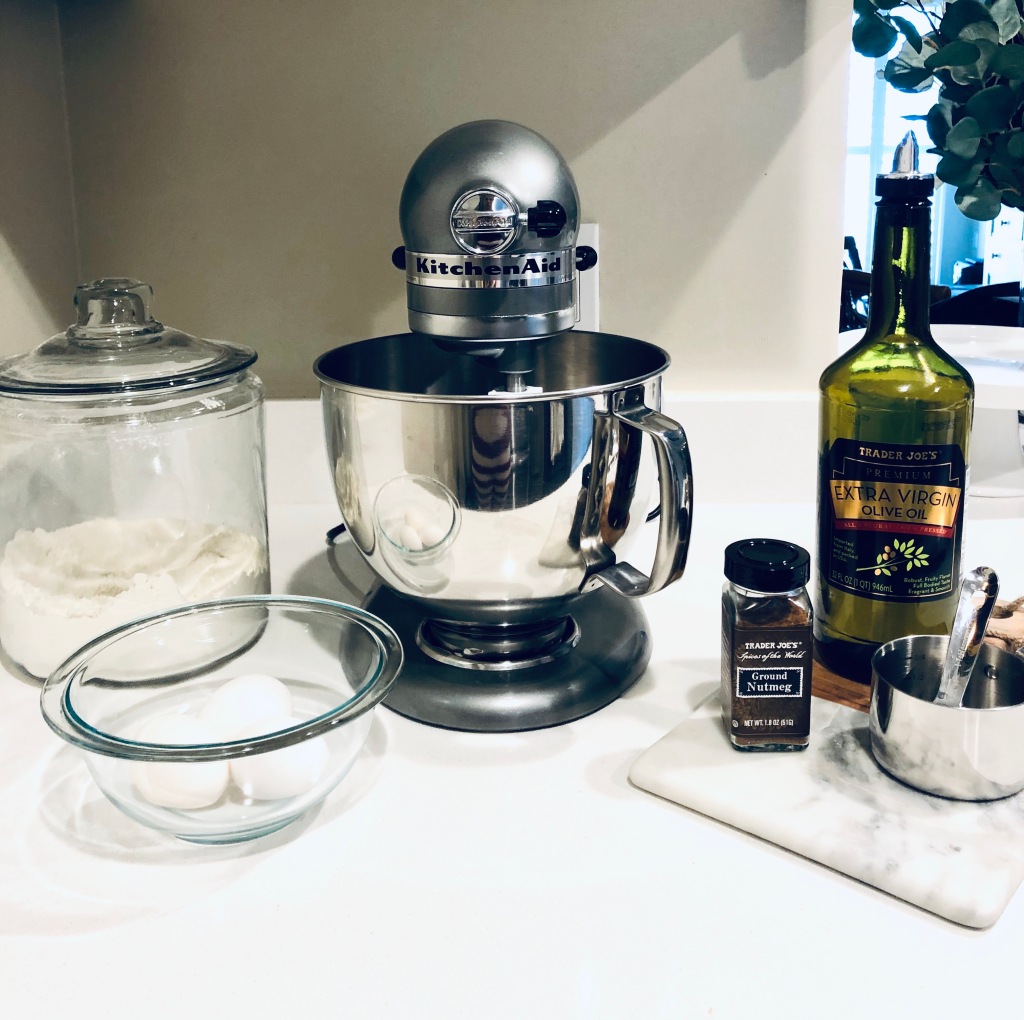
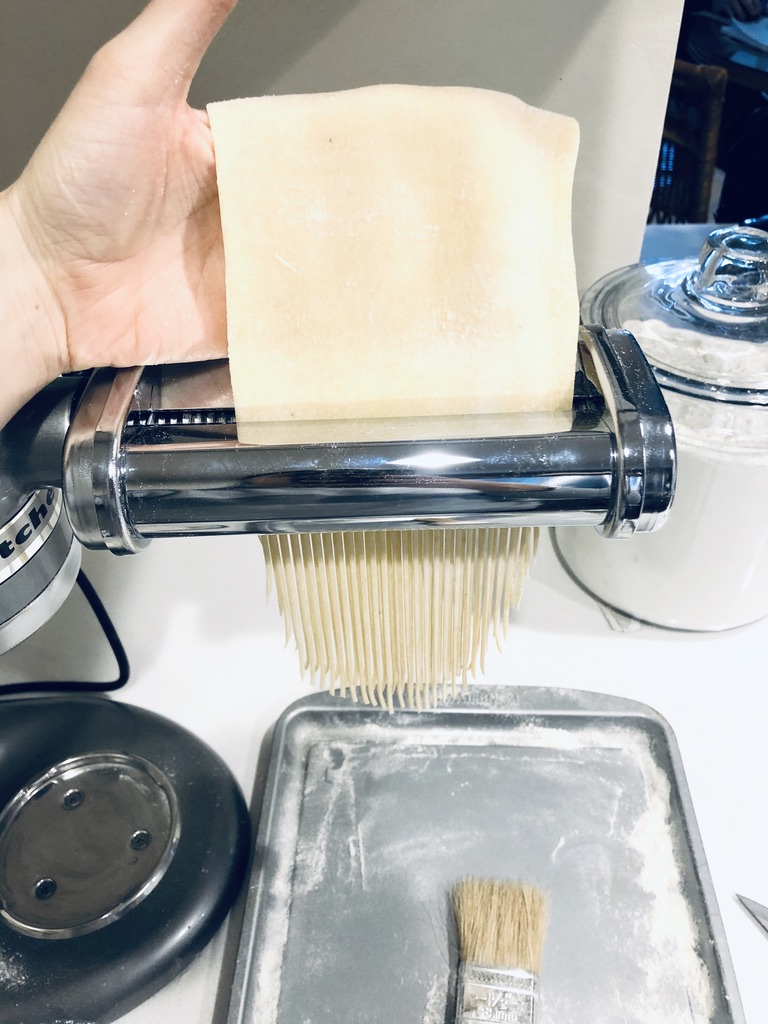
1. Try out something new in the kitchen

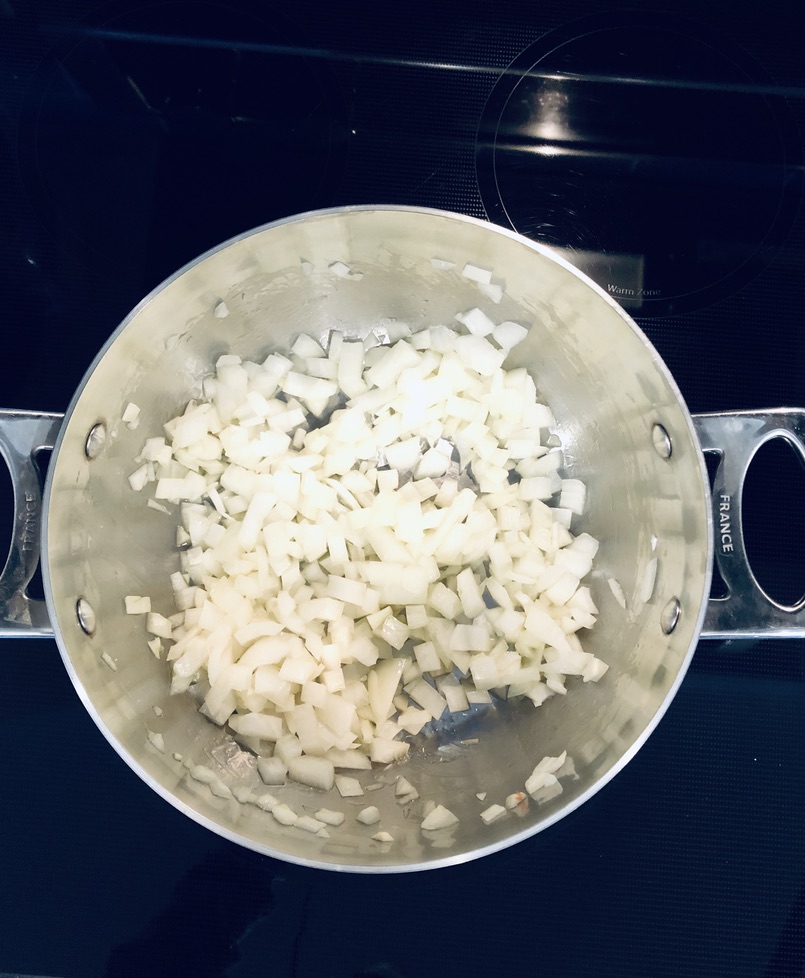
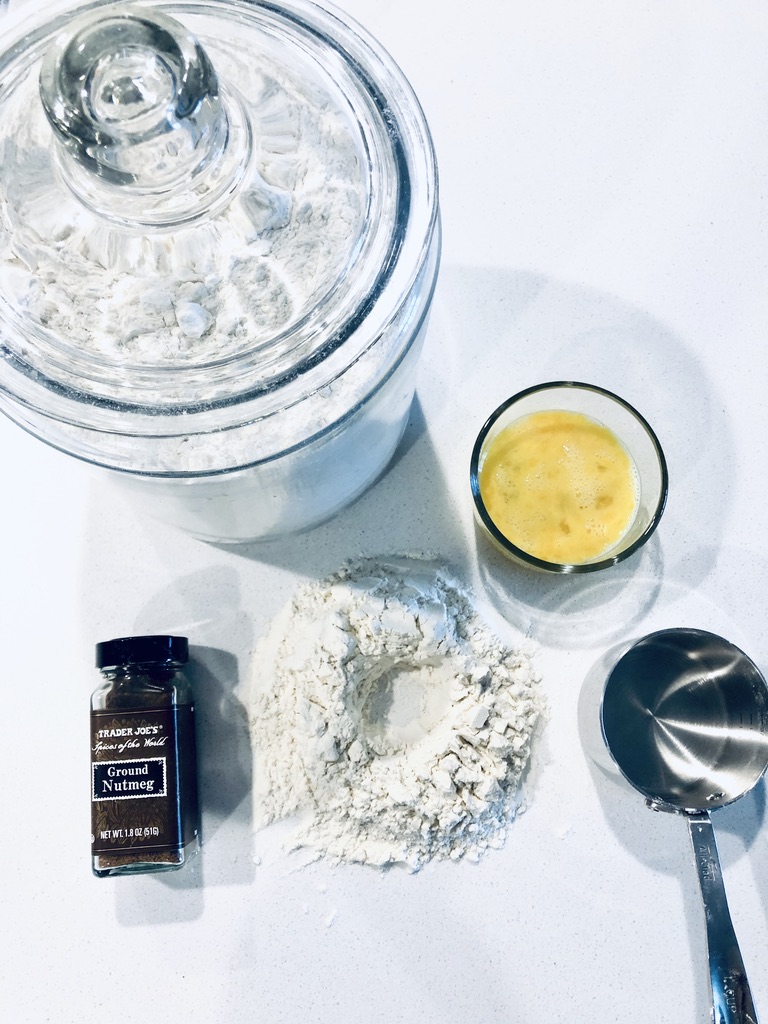
Spending time in the kitchen with loved ones, or solo, can be incredibly therapeutic. If you’re working from home, take advantage of this time by trying out a new recipe, for example, something you’ve always wanted to make but haven’t found the time. Whether you have an at-home office, or you’re working from the couch (like Dylan and myself (hello back pain)), it’s important to give yourself a mental break and switch up your environment (even if it’s just to the kitchen!).

I want to see what all of you are making- post a pic to your social media account and make sure to tag me!!

2. Get outside

This one seems pretty obvious, but often we forget just how important it is to both our physical and mental health to get some fresh air and vitamin D.

Working from home makes it easy to get into a routine of: work, eat, Netflix, sleep, repeat; this routine is the culprit of cabin fever. Next time you take a break, do it outside! Walk your dog. Take a walk by yourself. Go on a bike ride. Grab your lunch, head to your backyard (if you’re lucky enough to have one) and eat on a picnic blanket! If you’re leaving your house or apartment, of course, don’t forget to practice social distancing!! At least SIX feet of personal space people!!

3. Game night

Break out those board games you haven’t seen or played in while, or try out a new one! Dyl and I are currently loving Sequence, Yahtzee, & Dominion!

4. Spring cleaning

Have you cleaned your blinds, your shower grout, or underneath your fridge recently? No? Me neither. Spring has officially sprung, so let’s get cleaning! Stay tuned for upcoming posts on my spring cleaning tips & tricks!

5. At-home workout

How lucky are we that, with a quick Google or YouTube search, we have access to hundreds, maybe thousands, of workouts that can be done in the comfort of our own home?! Whether you enjoy yoga, pilates or HIIT workouts, there are so many options available online.

If you’re looking for a free option, a quick online search of your favorite workout should do the trick! Another free option (I LOVE this idea) is to set an alarm for every hour of your work day (e.g., on your Alexa, Google Home, or even your phone), when it goes off, stop what you’re doing and do 1 round of 3 exercises! For example, once every hour from 9am-5pm do 15 pushups, 15 sit-ups, & 15 jump squats. I got this idea from a friend of mine, and it’s so simple, but genius!

If you’re looking for a more structured workout routine, there are also apps and at-home programs available for a monthly fee. My personal favorite is the Sweat app; I’ve been using this as my primary fitness routine for the past two years! It’s a killer workout that can be done at a gym or at home. Additionally, many small businesses (such as fitness studios) are offering online fitness classes for a small fee; my pilates studio (MNT Studio) is offering 50 minute barre/pilates classes for only $10 each! If you can, don’t forget to support your favorite studio or small business so that when this is over and our lives head back to normalcy, they will still be there โค .

6. At-home spa day

If you’ve been working hard at work or working hard at home, you deserve a day of self-care. Here are some of my favorite ways to have an at-home spa day:

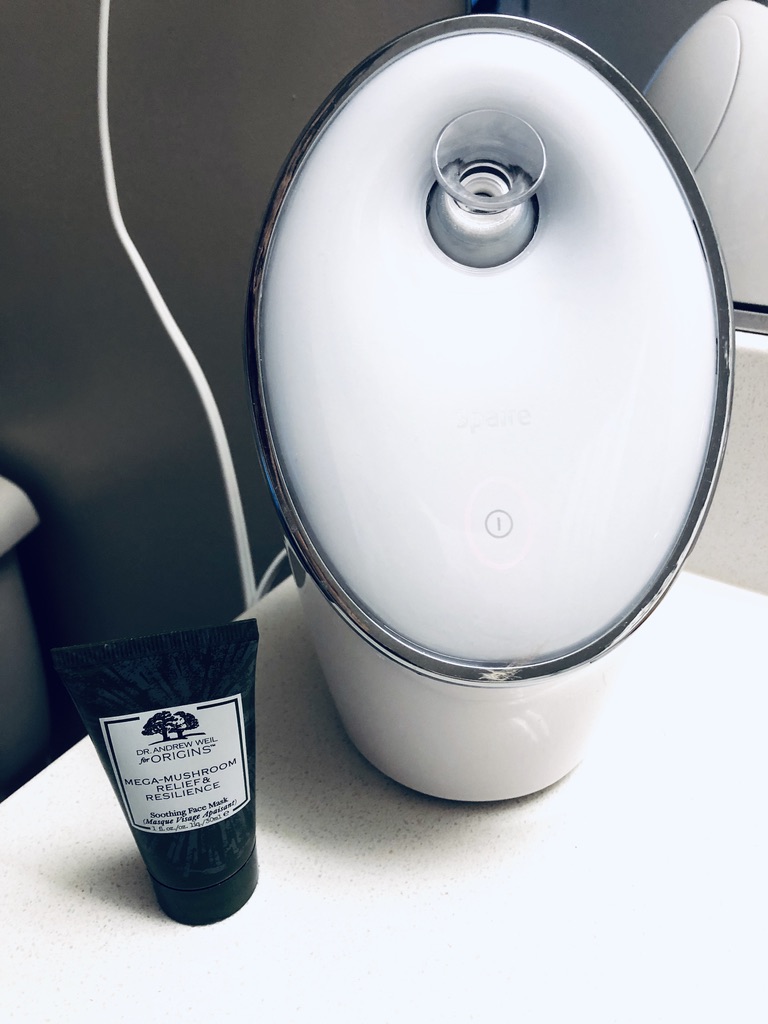
  1. Cleanse your skin and give yourself a steam facial treatment using this
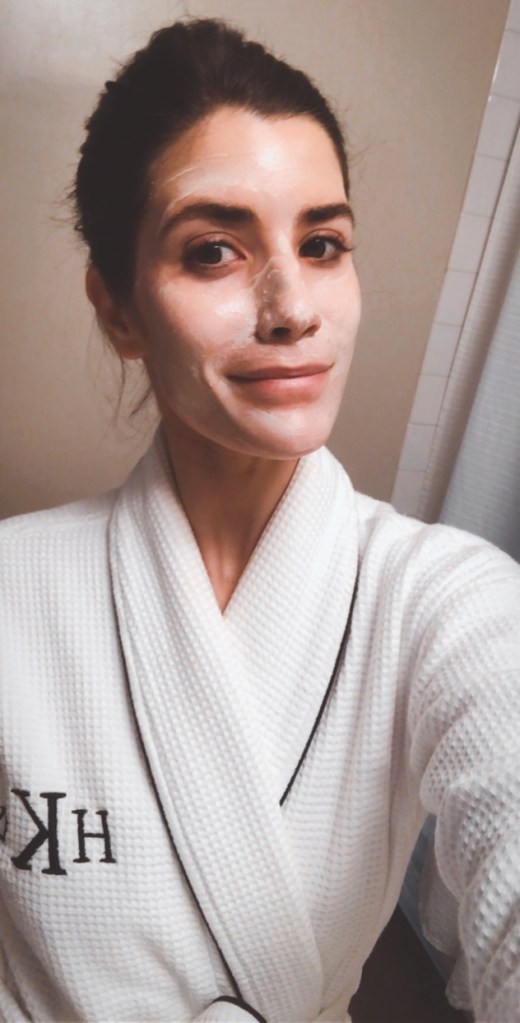
  2. Throw on your fav face mask, mine is Mega Mushroom Relief and Resilience (Origins)
  3. Treat your hair: Either deep condition it or put on a mask
  4. Take a bubble bath… maybe even pour yourself a glass of champagne!

Voila! Relaxation achieved ๐Ÿ™‚


Quick & Simple Tomato Sauce

When it comes to sauciness (tomato that is), my hubby and I are very different. While I prefer to go easy on the sauce, Dyl pretty much treats sauce like a soup. Whether Iโ€™m making spaghetti, ravioli or eggplant parm, I always set out a gravy boat for my sauce-loving man. Regardless of whether you like a little or a lot, I think youโ€™ll love this quick and simple sauce!


What you’ll need to make the sauce:

  • 2 28oz cans of tomatoes (whole, crushed, & diced will all work)
  • 1 Medium onion, diced
  • 2 Large garlic cloves, minced
  • 1 Large carrot, peeled & shredded
  • 1-2 Cups red wine, (anything you don’t mind drinking that’s not too sweet)
  • 1-2 Tbsp olive oil
  • 2 tsp each of Thyme, Oregano, & Basil (you can use any herbs you like)
  • Salt & Pepper

Recipe:

Sautรฉ onion in olive oil over medium high heat until tender and translucent.

Add in shredded carrot and a large pinch of salt; cook for 5-7 minutes stirring occasionally. Add garlic, cook for 2-3 minutes.

Add in wine & simmer for 10 minutes. If you don’t keep wine at home, this step can be skipped!

If you’re using whole tomatoes, they can be added whole (they begin to break down as the sauce simmers) OR the more fun way is to crush with your hands ๐Ÿ™‚ . If you’re using crushed or diced tomatoes, they can be added in straight from the can! Add in herbs of your choosing; I used basal, thyme, oregano, and rosemary. Cook on low heat, uncovered for 1-2 hours. Salt & pepper to taste. Depending on how you plan to serve your sauce, you can leave it chunky or use an immersion blender for a smoother texture. For example, I typically use an immersion blender for pasta sauce (although I didn’t in the photo below), and leave it chunky for eggplant parm.

Last step…use in your favorite recipe, & ENJOY!!

Homemade Spaghetti

I. Love. Pasta. Who’s with me?! When I think of pasta, I think of comfort. Every time I whip out my enormous glass canister of flour and carton of eggs, I am overcome with a sense of nostalgia. Everything about making this meal takes me back to being a little girl, standing in my Nana’s kitchen, helping her make homemade pasta dough โค .

I’ve heard from many people, usually when they’re over enjoying homemade spaghetti, that they have a pasta machine but they’ve never used it! It sits buried in the back of their cabinet (with the rest of the appliances that are never used), inevitably sitting untouched for years to come. If you fall into this category, it’s time to whip that baby out! I will show you two different methods of making spaghetti: (Method 1) Kneading the dough by hand and using a hand crank pasta machine. (Method 2) Using your KitchenAid mixer and attachments. **Although method 2 is faster, your spaghetti will be equally delicious either way, I promise.** If you don’t have a pasta machine, you can grab a hand crank one here & if you have a KitchenAid, you can find the attachments here.

Things are pretty crazy in our world right now, and a lot of us are spending more time at home than we typically would, so why not use some of that extra time to try out something new in the kitchen?! Having homemade pasta in your recipe arsenal is a great way to not only feed a big group of people without breaking the bank, it will also leave your guests walking away from this simple yet eloquent dish being SO impressed. Trust me.


What you’ll need to make the pasta dough:

  • 2 Cups Unbleached All-Purpose Flour
  • 4 Large Eggs, lightly beaten
  • 1-2 Tbsp Olive Oil
  • Pinch of Nutmeg (Optional)

Method 1: By Hand

Pour flour onto a clean countertop and create a well in the center. Sprinkle a dash of nutmeg in the bottom of your well.
Gently pour beaten eggs and olive oil into the center of the well. Using a fork, gradually bring flour from the edges of the well in towards the center. Do this until you have what can only be described as an ugly clump of dough. Time to switch to your hands, woohoo!!
This is what your dough will look like once it comes together….not very pretty, I know. Throw down a good dusting of flour on to your countertop and little more on top of your dough.
Knead the dough using the heel of your palm to push down and away from you, flipping and rotating it repeatedly until it feels smooth and silky, about 7-10 minutes. HELLO ARM WORKOUT!
Once you’re done kneading, shape the dough into a ball. You should be able to easily leave an impression in it, but it should not be sticky! Wrap your dough in plastic wrap and pop it into the fridge ๐Ÿ™‚ . If you’re planning to roll it out right away, skip the fridge and let it rest (still wrapped in plastic) for 30 minutes.
Once you’re ready to make your spaghetti, remove dough from the fridge and let it rest for 30 minutes. I like to get everything set up and ready to go during this time! Tip: Use a pastry brush and small bowl of flour to dust your pasta dough as you work with it.
Cut dough into four equal sections, remove one section, and cover the remaining portions in plastic wrap.
Dust your piece of dough with flour and briefly knead it. Set rollers on your pasta machine to the widest setting, then crank the dough through the rollers. Fold the dough in half on itself and pass it through the rollers again; continue to do this 2-3 times on the widest setting (until your dough is soft and smooth). Reset the rollers one width narrower and crank the dough through this setting 1-2 times. Adjust the rollers to the next narrowest setting and continue passing the dough through each setting until you have one long sheet of dough that should be about 1/8-inch in thickness. NOTE: Make sure to dust sheets of dough with flour in between passes to prevent it from sticking to the machine.
To cut the noodles, pass sheets of pasta through the spaghetti attachment on the pasta machine.
If you plan on cooking your spaghetti right away, you can toss noodles with flour and set them on a piece of parchment. If you don’t plan on using spaghetti right away, hang the noodles to dry on a pasta drying rack (if you don’t have a drying rack, you can use a hanger (I used to)!!) To store: once pasta is dry, CAREFULLY put noodles into a freezer Ziplock bag and place them in the freezer until you decide to cook them! To cook your spaghetti, add to boiling water and cook for about 5 minutes.
Toss with your favorite sauce and enjoy!!!

Method 2: KitchenAid

Dylan and I received our KitchenAid mixer as a wedding gift from my sister (who BTW is the best person ever), and I am OBSESSED.
Using the hook attachment, add flour and nutmeg to the bowl and mix on low speed for just 10 seconds.
Add beaten eggs and 1 tbsp olive into center of the flour.
Mix on low speed, occasionally stopping and and scraping the sides of the bowl and hook with a spatula. Once your dough begins to combine, let the mixer knead it for 5-7 minutes. Note: If your dough seems too dry, you can add cold water, 1 tbsp at a time. If your dough seems too wet, add more flour
Remove the dough from the bowl and hook and form it into a ball. It should be smooth and silky soft. You should be able to easily leave an impression in it, but it should not be sticky! Wrap your dough in plastic wrap and pop it into the fridge ๐Ÿ™‚ . If you’re planning to roll it out right away, skip the fridge and let it rest (still wrapped in plastic) for 30 minutes.
Once you’re ready to make your spaghetti, remove dough from the fridge and let it rest for 30 minutes. I like to get everything set up and ready to go during this time! Tip: Use a pastry brush and small bowl of flour to dust your pasta dough as you work with it.
Cut dough into four equal sections, remove one section, and cover the remaining portions in plastic wrap.
Dust your piece of dough with flour and briefly knead it. Set rollers on your roller attachment to the widest setting, turn mixer on to speed 2, and send the dough through the rollers. Fold the dough in half on itself and pass it through the rollers again, continue to do this 2-3 times (until your dough is soft and smooth). Reset the rollers one width narrower and pass the dough through this setting 1-2 times. Adjust the rollers to the next narrowest setting and continue passing the dough through each setting until you have one long sheet of dough that should be about 1/8-inch in thickness. I personally like to roll out all of the dough before cutting any noodles to prevent having to switch back and forth between attachments. NOTE: Make sure to dust sheets of dough with flour in between passes to prevent it from sticking to the machine.
To cut the noodles, switch to spaghetti attachment and set mixer to speed 2. Pass sheets of pasta through the spaghetti attachment.
If you plan on cooking your spaghetti right away, you can toss noodles with flour and set them on a piece of parchment. If you don’t plan on using spaghetti right away, hang the noodles to dry on a pasta drying rack (if you don’t have a drying rack you can use a hanger (I used to)!!) To store: once pasta is dry, CAREFULLY put noodles into a freezer Ziplock bag and place them in the freezer until you decide to cook them! To cook your spaghetti add to boiling water and cook for about 5 minutes.
Toss with your favorite sauce and enjoy!!!